The following instructions will guide you in the creation and publishing of a Network Headline News message.
Technical prerequisite - IMPORTANT
Authors must use Firefox for creating and maintining Headline News. Internet Explorer is NOT supported.
Note: The ability to create and update Headline News is reserved to Authors, as determined by user profile.
1. Connect to the Portal
You will need to connect to the Publish Portal in order to be able to create or modify Headline News items. This is the URL to be used:
https://www.nm.eurocontrol.int/PUBLISH/gateway/spec/index.html
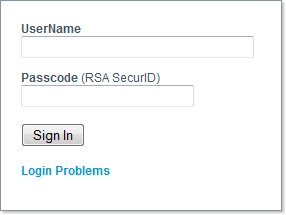
Enter your credentials (UserName and Passcode) on the Login Page:
A new screen appears, prompting you to select the Role and Domain values to be used:

Select the appropriate values (typically, the role will be Fmd Staff and the domain CFMU) and click on the Go button. This will open the NOP (the relevant Portlet has been framed in red):

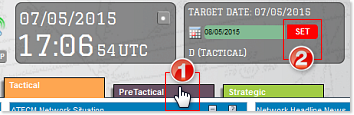
Attention: the Network Headline News Portlet in only available on the Tactical (orange) and PreTactical (purple) tabs. If you do not see the Portlet, please check the Tabs settings in the header of the Portal:

To go to a different tab than the one currently selected, 1 click on its icon and then 2 click on the (now blinking) Set button:
2. Access the Headline News Editor
From the Headline News Portlet on the NOP Main page, use the Create link(  ) to open a blank template:
3. Start the Creation process

Enter the following properties:
1 Title: a brief text outlining the content - for this example, 'The TITLE of the Headline News'
2 Criticality: the criticality of the item - select one of the options: INFO - NORMAL - WARNING - ALARM.
This will result in the title being displayed in the Headline News Portlet in a specific color, depending on the level of criticality:
- black: INFO means there is no severity - NORMAL is the lowest severity level - WARNING indicates there could be a medium or high severity level.
- red: ALARM is the highest severity level. The news is critical.
3 Protected: Toggle 'on' the Protected checkbox to have the item only visible to users of the Protected Portal.
4 Dates and times:
- Start Time: instant when an item becomes visible on the Portal - both under the Latest News tab from the Portlet and under the Online Events List tab from the More window.
This value is optional - leaving the default value unchanged will result in the item being displayed as soo as it is published. - Ongoing Time: instant when an item becomes Ongoing - and is then listed in the Ongoing News tab from the Portlet. This value is optional.
- End Time: instant when an item is no longer online and is only visible under the Archive Events List tab from the More window.
This value is optional - leaving the default value unchanged will result in the item being displayed as soo as it is published.
- Set the Date by means of the proposed Date Picker component and click on the
 icon to open the calendar:
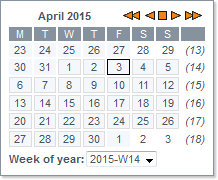
You may also directly type in the date in the first text field, using the following format: DD/MM/YYYY - Enter the Time in the second text field, using the following format: HH:MM
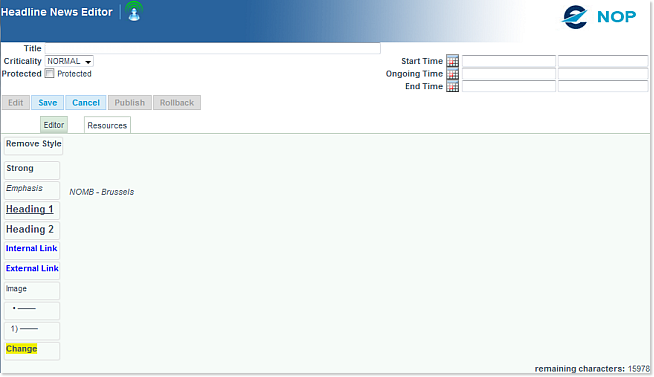
4 - Writing / Editing the content
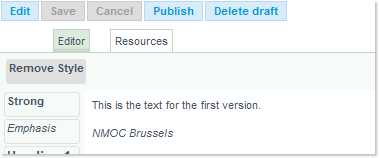
Proceed with the completion of the content - click to activate a text insertion point above the automated signature reflecting your entity (2), and type in your text (1).
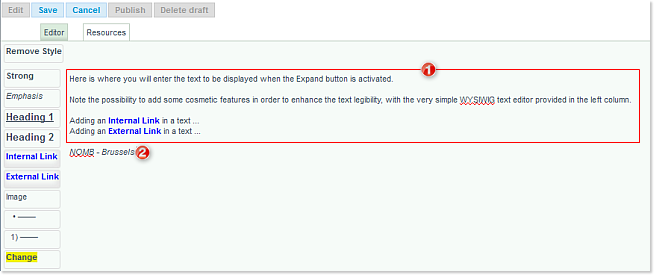
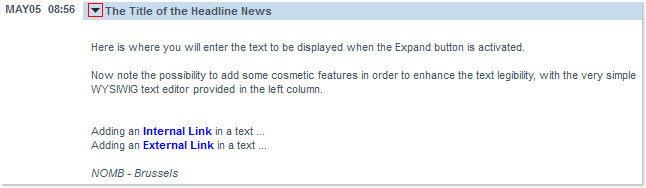
This is the text that will be visible to the Portal readers, when the Expand arrow icon in front of a Network Headline News title is activated:
5. Optional - Upload resources files
Go to the Resources tab:
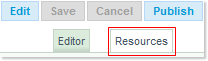
Click on the Resources tab to activate the upload component:
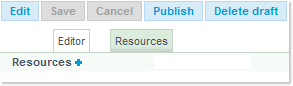
Next click on the  Resources button to get the following dialog:

Then use the Browse button and then navigate within your file system to locate the desired resources to be uploaded, then click on the Open button:


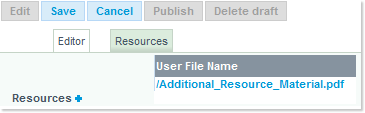
The returned message will however typically be the following:

... and the uploaded file will be visible in the list, and available to the Editor:
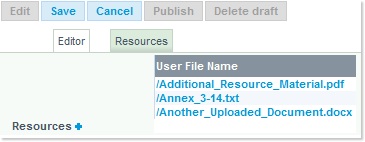
Repeat the above described steps to add more material to the Resources section:
6 - Optional - Insert images and links
If the news item so requires, you may now insert in the body of the text some previously uploaded images. Using the simple Text Editor further described in this chapter (under the Styled Text section), you may also have text hyperlinks pointing to internal resources (files you have uploaded) or external URL's.
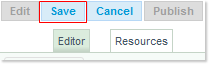
7 - Save the item
Click on the Save button to keep you changes and generate the item in the system:
You may verify that the item has been correctly saved. Go to the Main page and click on the Drafts link:

This opens the Headline News Edit List window - and see that the item indeed appears in the provided table:

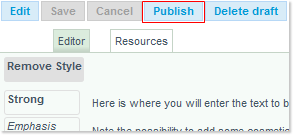
8. Publish
The saved item is now ready to be published. To do so, click on the now activated Publish button:
As it is the first time this item is published, the dialog below may be disregarded - so simply click on the Publish button (as this is a new item, you cannot mark it as a 'minor change'):

The following message should then appear:

Click on the OK button to close it.
As a result, the draft version is suppressed from the list, and the item is visible on the Portal, with respect to its Date and Time settings:
- when the Start time is reached, or
- immediately, when no start time is specified.

9. Make minor changes
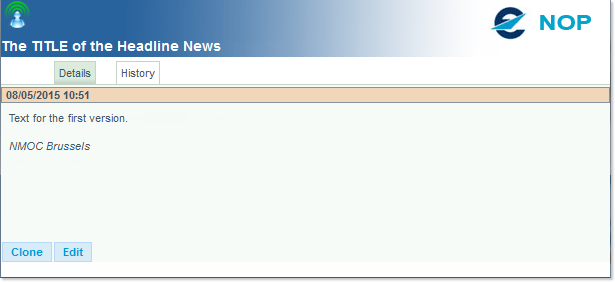
In cases where you wish to make some minor changes to an item, go back to the Network Headline News Portlet on the main page and simply click on a Network Headline News Title to open its corresponding History window:
Click on the Edit button and perform the requested minor changes:
Save the changes, and go through the Publish process once more - but this time mark the update as Minor:

As detailed the History tab in the History windows, you can see that a new entry has been added:

This table lists the updates with the latest item top.
Note that the Publication Time has been left unchanged between the Major update corresponding to the item creation and the Minor one just performed, while the Last Update Time correctly tracks the updates history.
10. Make significant changes
Reopen the item as described right above, and modify the content in a more significant way (e.g. adding new text):
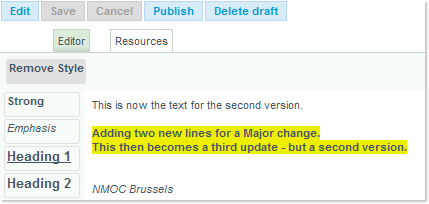
Save the changes, and go again through the Publish process once more, leaving the Minor radio button off (thus creating a Major update):
Les us have another look at the History tab in the History windows:

The Publication Time has now been updated to reflect the Major update, and the Last Update lists the three consecutive publishing times.
11. Cloning an item
The steps from 1 to 10 above describe the creation of an item 'from scratch'.
Under certain circumstances, you may wish to re-use an already existing item and apply some modifications on it, to generate a new one:
- locate, and click to open the 'source' item to be cloned (either from the Network Headline News Portlet, or from the Online Events / Archive Events List accessed via the more button from the Portlet)
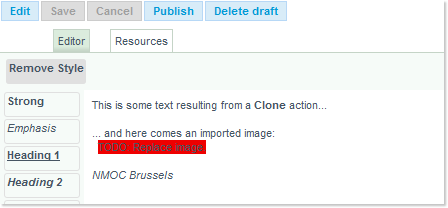
- click on the Clone button (bottom left of the window)
- the Headline News Editor opens with a copy of the source item - with the exception of imported resources, if any. In such an event, a TODO notice (in a red label) will be inserted to remind you to upload and place the missing elements:
- Then click on the Edit button
From here on, you may follow the same procedures as for a new item (steps 4 to 10).